Tenant Approval
Send rejection letter to the rest of the applicant.
Move on to the next chapter:
- Check if ID and SSN is on file, if not, request for an update in the email
- Call applicant
- Let them know that they are approved
- Expect our email for the next step
- Schedule a move-in date on the phone with them
- Remind them the lease contract and related docs will be sent to them shortly.
- Once contract is signed, expect an email from rentredi, this is where they will use to pay rent
- Remind them we cannot give the keys before they sign all the documents and pay the fees
- Approve applicant first, DO NOT add the applicant as tenant yet (until they sign the lease contract).
- Send email to the approved tenants using Applicants Approved New Tenant Setup Email template with the following attachments: New Tenant Orientation, Rentredi Instructions. (Recommend, save this email as a template in your Gmail)
- Create DocuSign documents
- Lease
- Pet Addendum (Optional)
- Lead-Based Hazards Disclosure + lead in your home brochure (if the house was built before 1978)
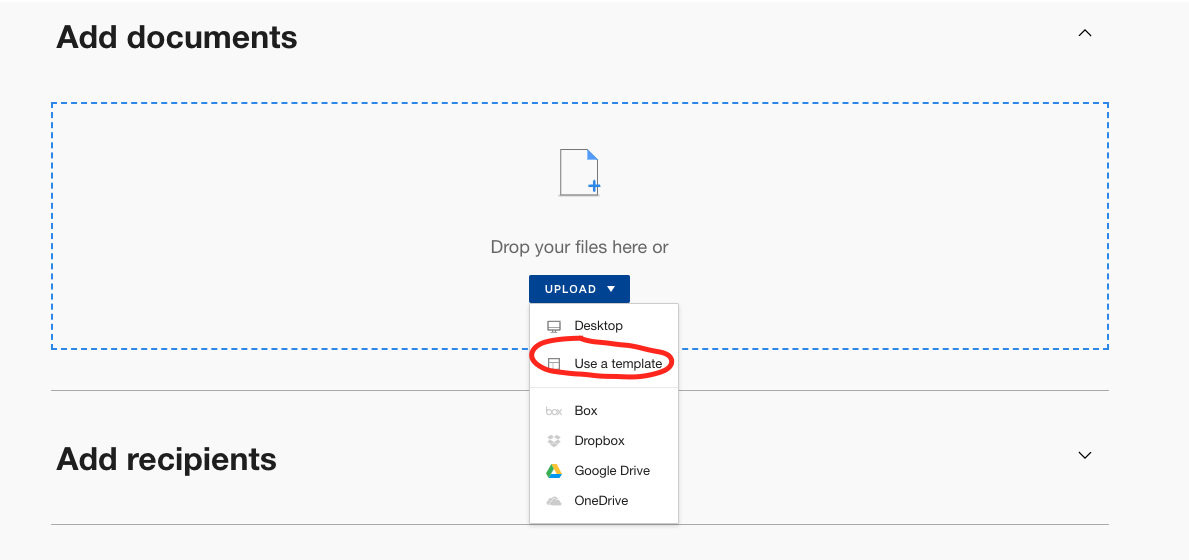
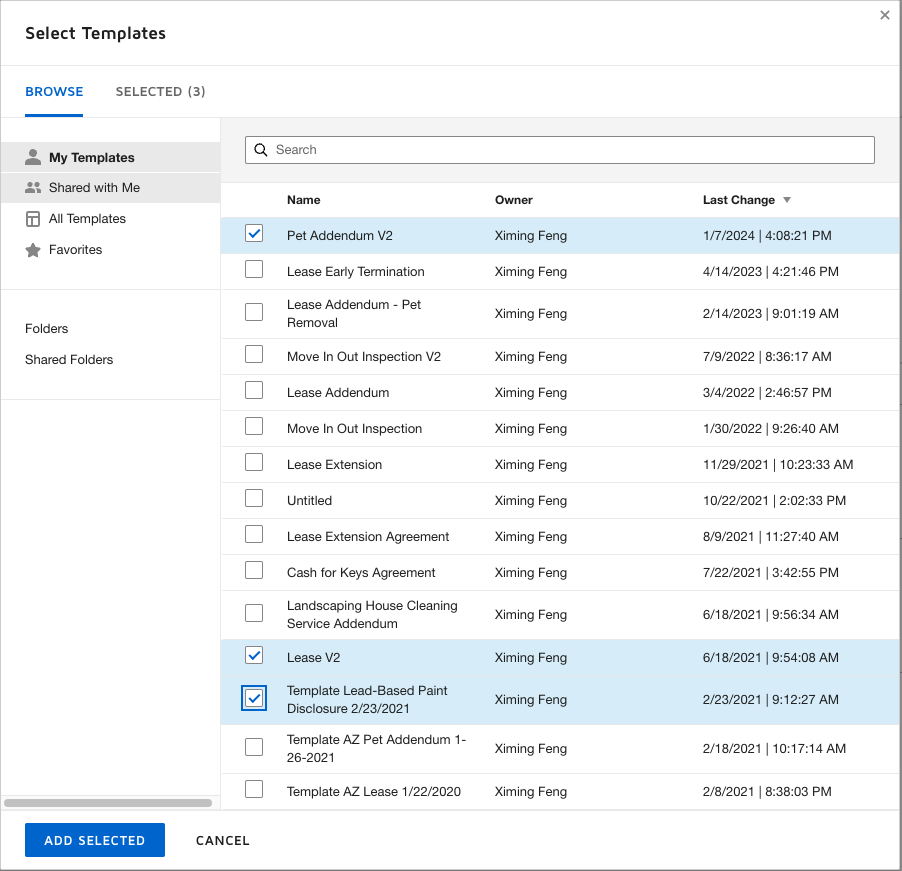
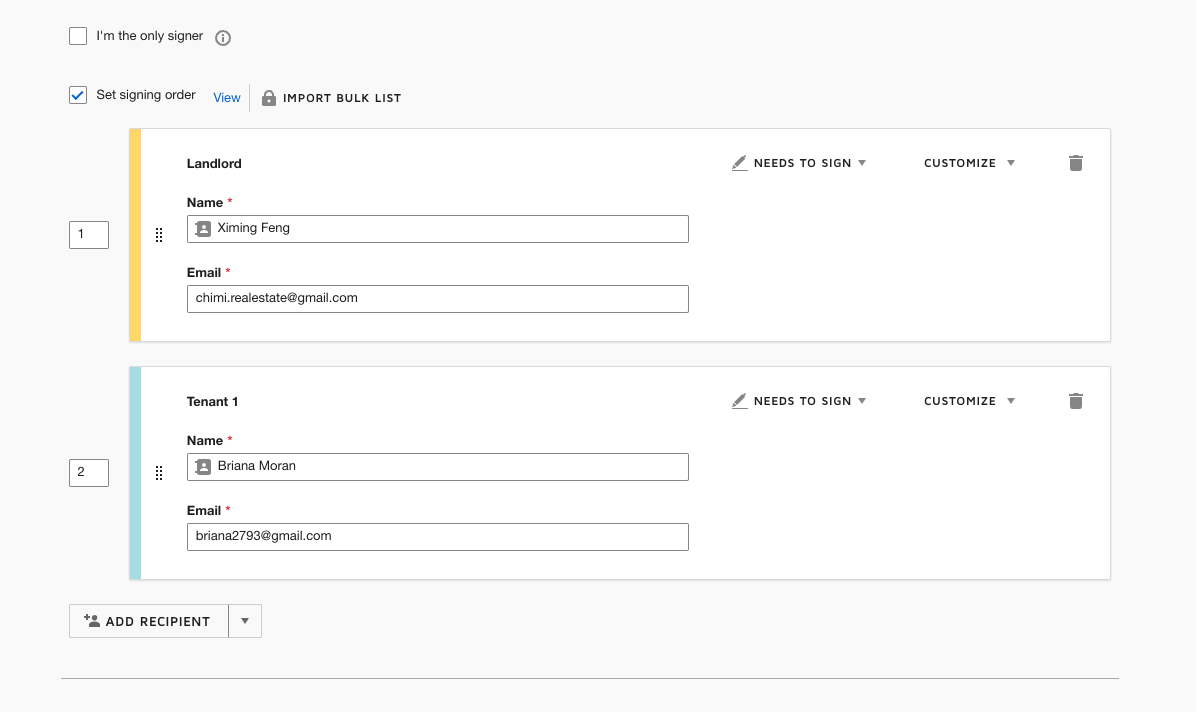
Make sure the signing order is set as the landlord will sign first
- For the next step, make sure the lease and all the documents are already signed!!!!!
- Save the tenant's signed docs in the google drive
- Add applicant as tenant
- Set up the charges
- Monthly rent + pet rent
- Security Deposit
New Tenant
Send out the email to all applicants using the template Tenant Approved Follow-Up Email, in this email, there is a link for the tenant to schedule a time to walk through the DocuSign documents. Pay attention to the email when that walkthrough is scheduled.
Add the following documents as attachments.